
How to move a point in a mask in Adobe Premiere Pro
Have you ever tried to move a point in a mask in Adobe Premiere Pro just to accidentally curve the mask instead? This can be quite frustrating so I wanted to show you how mask points work, once and for all.
How to move a point in a mask in Adobe Premiere Pro
To create a new point, click somewhere on the mask path.
To delete a point, hold “cmd” + click the point you want to delete
To create handles on a point, hold “opt/alt” + click and drag the point
To adjust both handles, click and drag one of the handles
To adjust one of the handles, hold “opt/alt” + click and drag one of the handles (once they are disconnected from each other, you can just click and drag any handle to move it separately).
If you have two handles and want to delete one of them, I’m not sure if that’s possible. I’ve tried to find a solution for this but without luck.
Sometimes it can look like you have just one handle because the second handle is inside the point, making it hard to move the point without selecting the handle.
To delete both handles, hold down “option/alt” and click on the point to delete them.
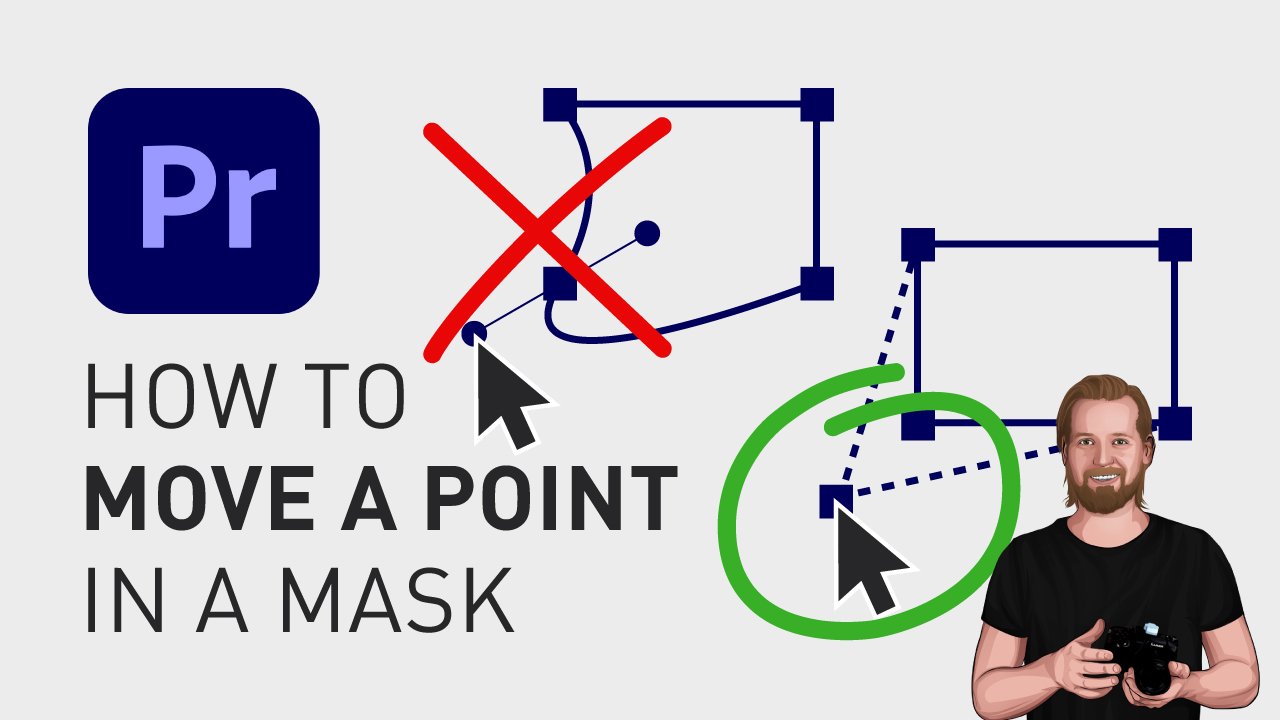
To move a point without creating a handle or accidentally moving a handle, deselect the mask by clicking somewhere outside of it, then click and drag the point, or click on the point to select it and then move the point with the arrow keys and to move them in bigger steps, hold down shift while doing this.
🎞 Watch the tutorial here!
Don’t forget to subscribe to my YouTube channel for hundreds of short tutorials just like this one.
Thanks for reading!
